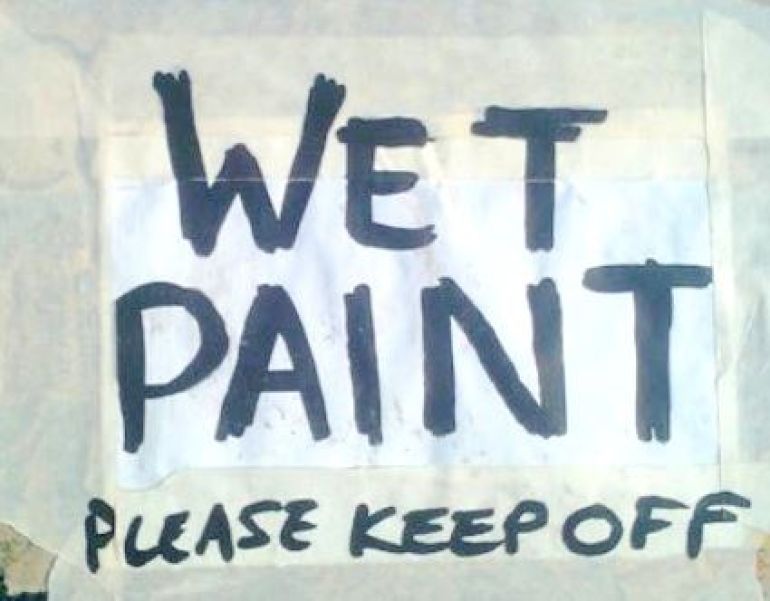
What’s Wrong With My Paint?
Painting Quotes
from local painters

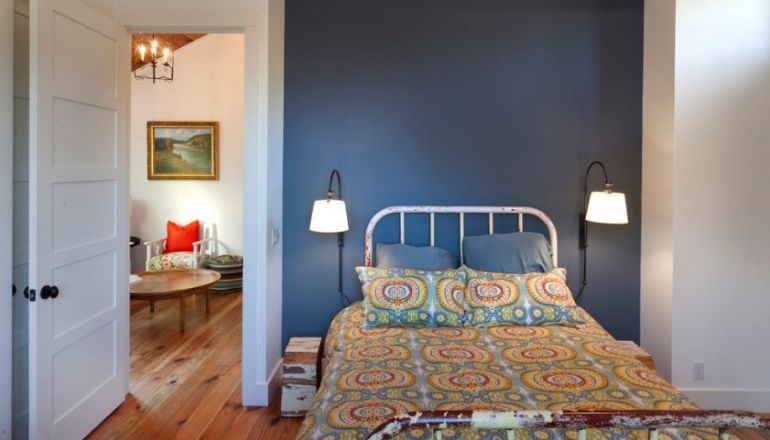
Painting projects are Queen in the DIY universe - nothing brightens up a room as much as a fresh lick of paint! However, don’t be fooled into false sense of security. Because of the versatility and variety of modern store-purchased paint, it is easy to select a paint unsuitable for your purposes. Furthermore, paint application can be a fair bit trickier than the idyllic frolic with baby animals paint commercials tend to suggest. When your painting project doesn’t go entirely to plan, you need not despair! Here is a guide to solving the eight most common painting problems you may encounter on the DIY roller coaster.
1. Paint fails to spread easily
If you’re finding it difficult to spread your paint across the surface, it may simply need thinning. Techniques for thinning paint will vary depending on which kind of paint you are using. Consider using commercial paint thinners as opposed to simply dolloping in the water. Paint also has a tendency to solidify if the atmosphere is beyond temperature parameters. Naturally, this can be solved indoors with heating or cooling systems. If you’re not having any luck outdoors, however, it’s best to stop entirely and postpone until the weather is more accommodating.
2. Paint is transparent
At the other end of the spectrum, if the paint is failing to provide full coverage it may simply be too thin. More easily remedied, you only need to increase the quantity of coats during application. Though this may be time consuming, it is significantly easier than trying to thicken the paint itself. Paint transparency is a common issue when you are painting walls which have not been stripped of their previous, dark colour. It can also occur if the surface requires more extensive sealing.
3. Paint is sagging
When paint is applied too thickly, it will likely sag. This is simply due to gravity doing its work before the paint has had sufficient time to set against the structure. Prevention is better than cure so take care to notice when you are applying too much paint and get into a natural rhythm of rectifying any sags as they appear by smoothing them over with a brush or roller. If the paint has already set beyond repair, wait until it dries completely and sand it down. Sags will usually appear between two and three minutes after application so always keep an active eye on your progress. Surfaces which lack traction invite sagging - so try sanding glossy and slippery surfaces to prepare them for painting. Also, avoid painting in periods of high humidity since this prolongs the time it takes for layers to dry and can exacerbate any existing sagging.
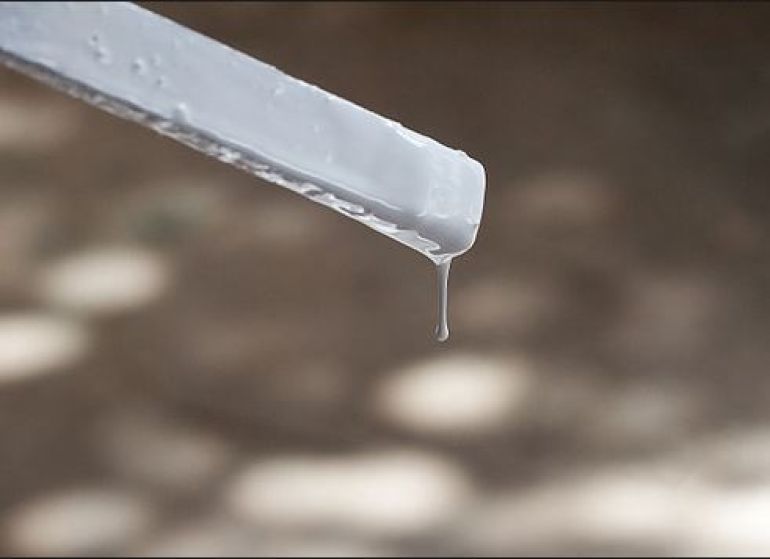
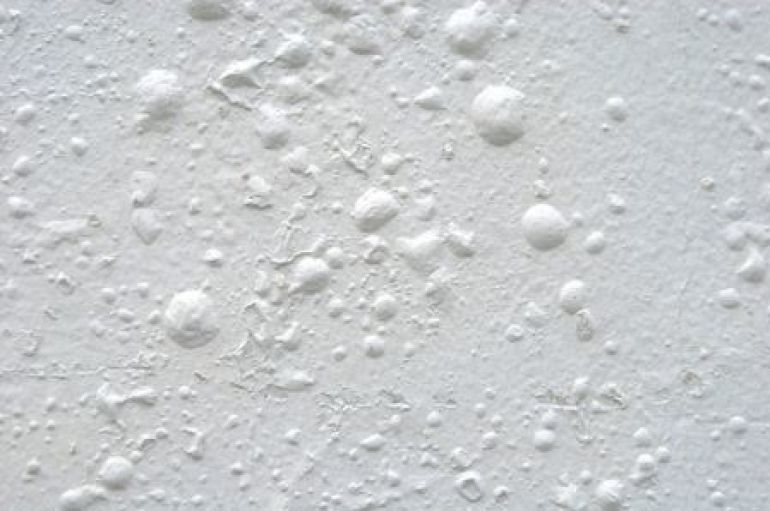
4. Paint is forming droplets

Silicone sealants around the edges of doors, windows and corners can result in paint forming strange droplets in these areas. You can try coating the silicone sealants with a thin layer of paintable silicone which can be painted over the same day (for example, Selleys has a range of “Paint Over Silicone” paints) or removing the silicone altogether. Overpainting should then take place within 48 hours. Sometimes paint droplets can also form when the surface is too oily or waxy. Take care to prepare your surface properly, even if this involves extensive stripping.
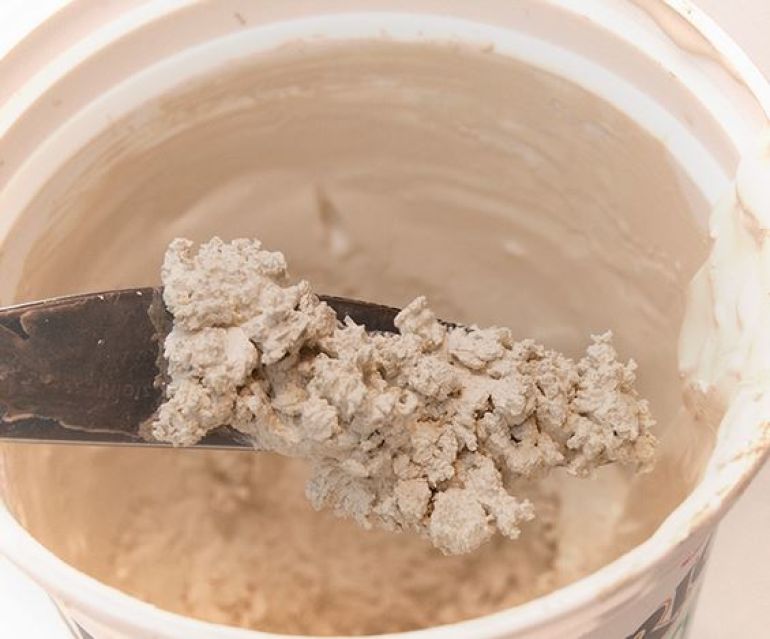
5. Paint is not drying
Paint actually requires rather specific conditions to dry effectively. When it fails to dry within the expected time, you should try altering the humidity in your home - this can be done using an air conditioning system, portable fans or dehumidifiers. Never fear! The paint will dry eventually but any moisture in the air slows the process. Take care in applying thin layers and don’t be tempted to rush by overapplying. One other thing to check is that the paint has been mixed correctly and is reasonably new. Sometimes incorrect ratios within your mixing can cause the paint to become an unusual texture - old paint is more likely to have separated and may cause complications.
6. Paint is lacking gloss

Many things can result in an unexpected loss of gloss in your paint - for instance, if you are applying paint too late in the day, have not primed the material or surface, or haven’t provided sufficient undercoating to prevent the absorption of the gloss paint. To avoid this issue altogether, ensure that the surface you wish to paint has been properly prepared for a gloss paint and make a measured decision about when to begin the project in reference to the time of day and the weather.
7. Paint is blistering
Rarely, when you apply a lightly-coloured paint over a darker one, the new paint can blister as a result of the built-up heat attracted by the shade underneath. There is only one solution to this situation and a rather irritating one at that - where possible, ensure you are stripping back the old hue so that the raw material is at its best for receiving the new, lighter colour.
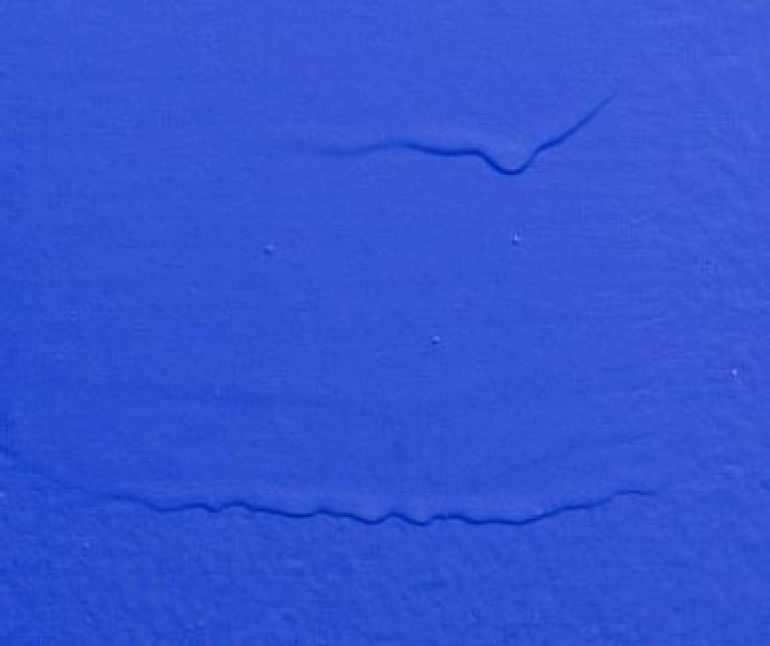
8. Paint is cracking
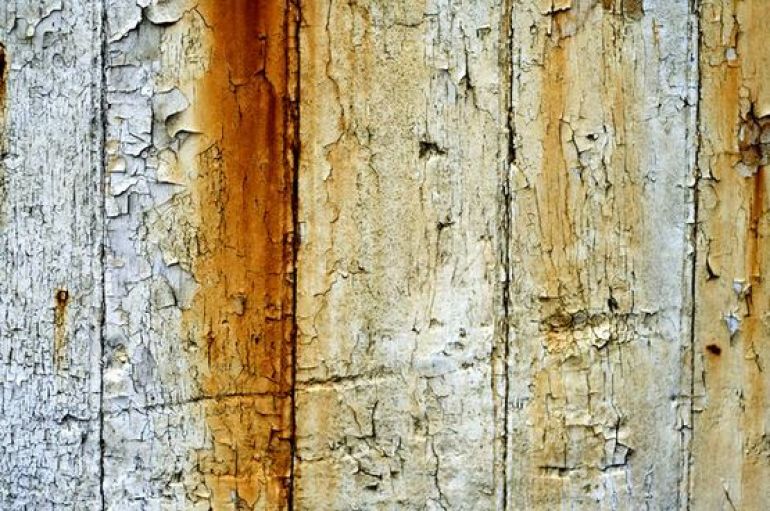
Beware - if you eagerly apply a second coat of paint before the first coat has properly dried, it will likely crack and flake. Furthermore, if the paint dries too quickly or if the undercoat is not compatible with the overcoat paint, little cracks will occur and these too will progress towards flaking. It is of the utmost importance to ensure that you have thought out the whole painting process and undertake it in a measured, patient manner.
Noticing any trends?
With experience, you'll come to notice that basically any painting mishaps can be prevented by following the same few rules. With a bit of common sense and an understanding of how to get the most out of your paint, you'll breeze right through the whole process.
1. “Know your paint”
Research the properties and distinctive features of the paints you have selected and understand how your undercoat will interact with the subsequent layers and with the surrounding temperature and humidity.
2. “Do your prep”
Prime and prep your surface properly to avoid wasting time later on - this will involve cleaning brushes and rollers, stripping paint and varnish and applying other substances to ensure that your paint will look its best and will stick properly and thoroughly to the entirety of the surface.
3. “Take your time”
Painting projects can be a tedious process and it is easy to fall into the trap of wanting to lump on more and more paint each time to just get the stupid thing finished - remember that using thin, even layers will minimise the problems you’ll encounter and maximise the eventual aesthetic appeal.
...
If you're exhausted even thinking about it, click here to get quotes from friendly, qualified painters who already know these ins and outs of paint application like the back of their hands.
Painting Quotes
from local painters
![]()